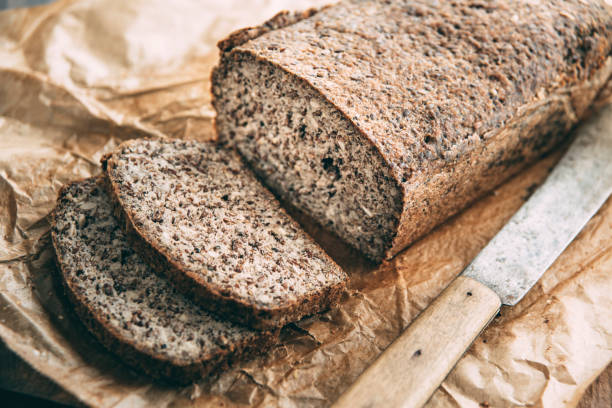
Starting with gluten-free bread might seem daunting, but it’s simpler than you think.
This post is your go-to guide, breaking down each step into easy-to-follow instructions.
I’ll walk you through choosing the right gluten-free flour, mixing your ingredients, and getting your dough just right, even if it’s your first time in the kitchen.
We’ll tackle common challenges, like achieving the perfect rise and ensuring your bread comes out moist and delicious, not crumbly or dry.
Let’s get started and make gluten-free baking a breeze for you.
Understanding Gluten-Free Baking
Before we dive into the recipe, it’s crucial to understand what “gluten-free” means.
Gluten is a protein found in wheat, barley, and rye, and for those with celiac disease or gluten sensitivity, it’s important to avoid.
Gluten-free baking involves substituting traditional flours with gluten-free alternatives like rice flour, almond flour, or a specially formulated gluten-free blend.
Ingredients You’ll Need
Gather the following ingredients to make your gluten-free bread.
These measurements serve approximately 4-6 people, and all ingredients should be readily available in South Africa:
- 2 cups (500 ml) Gluten-Free Flour Blend (Look for a blend that already includes xanthan gum, which helps mimic gluten’s elasticity)
- 1 tablespoon (15 ml) Instant Yeast
- 1 teaspoon (5 ml) Salt
- 1 tablespoon (15 ml) Sugar (or honey)
- 1 ¼ cups (310 ml) Warm Water (around 45°C)
- 2 tablespoons (30 ml) Olive Oil
- 1 teaspoon (5 ml) Apple Cider Vinegar (to help the bread rise)
- Optional: Seeds for topping (e.g., sesame, poppy, or sunflower seeds)
Equipment You’ll Need
- Bread Loaf Pan (approximately 23×13 cm)
- Mixing Bowls
- Measuring Cups and Spoons
- Whisk
- Spatula
- Baking Paper (optional, for easier cleanup)
Step-by-Step Instructions
Preparing the Dough
- Mix Dry Ingredients: In a large mixing bowl, whisk together the gluten-free flour blend, instant yeast, sugar, and salt.
- Add Wet Ingredients: Make a well in the center of the dry ingredients and add the warm water, olive oil, and apple cider vinegar.
- Combine: Using a spatula, mix the ingredients until a sticky dough forms. Gluten-free bread dough will be more like a thick batter than traditional wheat dough.
Rising the Dough
- First Rise: Cover the bowl with a clean kitchen towel and set it in a warm, draft-free place for about 1 hour or until the dough has roughly doubled in size.
Shaping and Second Rise
- Prepare Pan: Lightly grease your loaf pan or line it with baking paper.
- Shape the Dough: Gently transfer the dough into the prepared loaf pan, smoothing the top with a wet spatula.
- Second Rise: Cover the pan with the towel again and let it rise for another 30 minutes.
Baking the Bread
- Preheat Oven: While the dough is rising, preheat your oven to 180°C.
- Optional Topping: If desired, sprinkle the top of your dough with seeds before baking.
- Bake: Place the loaf pan in the oven and bake for about 35-40 minutes or until the top is golden and a toothpick inserted into the center comes out clean.
- Cooling: Remove the bread from the oven and let it cool in the pan for 10 minutes. Then, transfer it to a wire rack to cool completely.
Tips for Perfect Gluten-Free Bread
- Measuring Flour: Use a spoon to scoop flour into your measuring cup and level it off with a knife for an accurate measure.
- Water Temperature: Ensure the water is warm but not too hot to touch, as extreme temperatures can kill the yeast.
- Dough Consistency: Don’t be alarmed by the wetter consistency of gluten-free dough; it’s normal and necessary for a moist loaf.
- Storage: Gluten-free bread is best enjoyed fresh but can be sliced and frozen for later use. Thaw and toast for a like-fresh experience.
Conclusion
Making gluten-free bread at home is a rewarding experience that allows you to enjoy fresh, wholesome bread without the worry of gluten.
This simple recipe is a great starting point for anyone new to gluten-free baking, offering a basic yet delicious loaf that can be adapted and customized as you become more comfortable with the process.
Happy baking!

