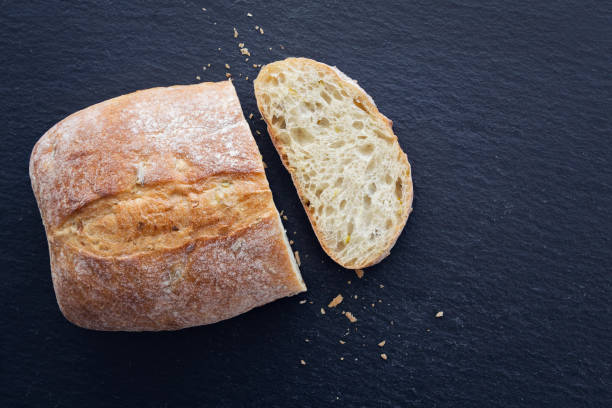
In this guide, I’ll walk you through a simple white bread recipe that’s perfect for beginners.
You don’t need fancy equipment or hard-to-find ingredients.
Just grab some flour, yeast, water, sugar, salt, and oil, and you’re all set.
I’ll break down each step, from mixing your dough to baking your loaf, in easy-to-follow instructions.
Whether you’re looking to impress your family or just treat yourself, mastering this basic white bread recipe is a great place to start your cooking journey.
Let’s get baking!
Understanding the Basics
Before diving into the recipe, it’s crucial to understand a few key points about bread-making:
- Yeast: The magic ingredient that makes the dough rise. It’s alive, so treat it gently.
- Kneading: This develops the gluten in the flour, giving the bread its structure.
- Proofing: The resting time allowing the yeast to work its magic, making the dough rise.
Ingredients
For a standard loaf that serves about 4-6 people, you’ll need:
- Flour: 500g of white bread flour, sifted. In South Africa, this is often labelled as “cake flour” or “white bread flour”.
- Water: 300ml, lukewarm. The temperature should be about 37°C – too hot and it will kill the yeast, too cold and it won’t activate.
- Yeast: 10g of instant yeast. This doesn’t need to be activated in water first and can be mixed directly with the flour.
- Sugar: 15g. Sugar feeds the yeast, helping it to grow.
- Salt: 10g. Salt controls the yeast’s action and adds flavour.
- Oil: 30ml of sunflower or canola oil, for greasing the dough and the pan.
Equipment
- Mixing bowl: Large enough to accommodate the dough when it doubles in size.
- Baking tin: A standard loaf pan, about 23cm x 13cm.
- Kitchen scale: For accurate measurement of ingredients.
- Dough scraper: Handy for shaping and handling the dough.
- Oven: Preheated, of course!
Step-by-Step Guide
Preparing the Dough
- Mix Dry Ingredients: In your mixing bowl, combine the sifted flour, sugar, salt, and instant yeast. Mix them well to ensure even distribution.
- Add Water: Make a well in the centre of your dry ingredients and gradually add in the lukewarm water. Use a wooden spoon to mix until a rough dough forms.
- Knead: Transfer the dough to a lightly floured surface and knead for about 10 minutes. The dough should become smooth and elastic.
First Proof
- Let It Rise: Place the kneaded dough back into the bowl and cover it with a clean cloth. Let it sit in a warm place for about 1 hour or until it doubles in size.
- Check the Dough: Gently press your finger into the dough. If the indentation stays, it’s ready for the next step.
Shaping and Second Proof
- Shape the Loaf: Knock back the dough by gently punching it down to release any air bubbles. Shape it into a loaf that fits your baking tin.
- Second Rise: Place the shaped dough into the greased baking tin. Cover it and let it rise for another 30-45 minutes, until it’s just peeping over the top of the tin.
Baking
- Preheat Oven: Ensure your oven is preheated to 220°C.
- Bake: Place the tin in the oven and bake for about 30 minutes. The bread should be golden brown and sound hollow when tapped on the bottom.
- Cooling: Allow the bread to cool on a wire rack before slicing. This prevents the inside from becoming doughy.
Tips for Success
- Yeast Activation: If unsure about your yeast’s potency, activate it in a little warm water with sugar first. It should foam and bubble.
- Kneading: Don’t skimp on kneading time. It’s essential for gluten development.
- Proofing Spot: Find a warm, draft-free spot for your dough to rise. This could be inside a turned-off oven with just the light on.
Conclusion
Baking bread is both an art and a science. Each step, from mixing to proofing to baking, plays a crucial role in the final product.
With practice and patience, you’ll find that making homemade white bread is a rewarding and delicious experience.
Enjoy the process, and don’t be afraid to experiment with your newly acquired skills.
Happy baking!

